|
iMIKEY'S Audio |
•
Converting Your CNC to a 3D Printer
STORY
Well, the story goes like this….. I wanted to build a 3D printer that had a working area similar to my CNC Taig Mill. The printers that came close to this size where WAY overpriced! I did a lot of research on different models and made the decision that I would build my own. So I bought the electronics for one of the most popular models currently available and built an interface to my Taig. I would keep everything on the mill as is and would disconnect the stepper motors from my CNC controller and attach them to a dedicated controller setup for 3D printing. This way I would keep the work area I wanted and with simply moving a couple of cables I could switch from a mill to a printer. I read online comments from uninformed people stating that a CNC mill would be too slow to be a 3D printer. (I laugh every time I think about what these people are saying.)
I am using Mach3 for my CNC mill and lathe operations. I have tried other packages but for the money it is hard to beat. The Taig is an excellent precision mill so I wanted to keep what I have and just change the controller for the printer. So I built a dedicated 3D printer controller using the electronics from a vender, the controller used separate motor controllers so in the event that one would get damaged I could just replace the card and not the entire control PCB.
This electronics package is supposed to be one of the most mature and reliable. One of the biggest issues I encountered when setting this up was that the firmware and software do not like anything larger than the standard work area. So in order to use my larger area I needed to do a great deal of firmware modification. I knew I would need to do some setup but unlike Mach3 and other CNC applications, where you just define the steppers and the limits of the machine in the application then application runs the mill, the current 3D printer electronics define the machine in the firmware.
This is a good idea if you want to print when not connected to your PC but this is also a limitation as the microcontroller does not have the processing capability, mainly the speed to count. This is where the issues start, while the motor controllers are rated to handle NIMA 23 steppers the reality is that they cannot. I found that each time I would run a calibration the location would change and the number of steps along an axis would change. Also, the acceleration was not correct for the motor so I slowed it down but then the controller did not have enough torque to turn the steppers correctly. At first I thought that my steppers were damaged or that I was pulling more current than the controller was rated but the answer to both was no, the current draw was less than half of what the controller was rated at and all of the steppers where fine.
So what does this all mean? I put the 3D printer controller I made in the garage to be sold on ebay at a later date. I am an electrical/electronics engineer so why not build what I want? So I decided to make my own control interface that would allow me to continue to use Mach3 (or any CNC software package I chose) and my existing CNC control hardware. If I want to use my entire workspace I would need to have a large heated bed but I would not always need that much room so I wanted to be able to heat a 4” x 4” bed and a 12” x 8” bed. The power required to heat the 2 beds is different if you want to do it in the same time period. I wanted to be able to heat from an external power source using a relay for the large bed and from an internal source using a MOSFET for the small bed. I also wanted to have the choice of using a thermistor and a thermocouple. Furthermore, I wanted to be able to do this for both the extruder and the bed and I wanted to monitor the temperature of both and be able to compare them to the presets with a large enough display to read without glasses (LOL getting old sucks!).
Most of the equipment that I work with uses 12 VDC so I decided to stay with 12 VDC. The display would need to be a 4 x 20 LCD and I would need to be able to provide at least 40 watts for the smallest and cheapest hot end and be able to provide over 100 watts to heating elements on the other end without generating high heat on the output MOSFETs. Now that I defined the scope I needed to pick the components.
I ended up getting a controller with the ability to output from 2 internal MOSFETs or to control 2 external relays or any combination to both the extruder and the heated bed. The temperature can be monitored by 2 thermistors or 2 thermocouples or any combination. The inputs and outputs are indicated by LEDs and the LCD is the control interface to the unit.

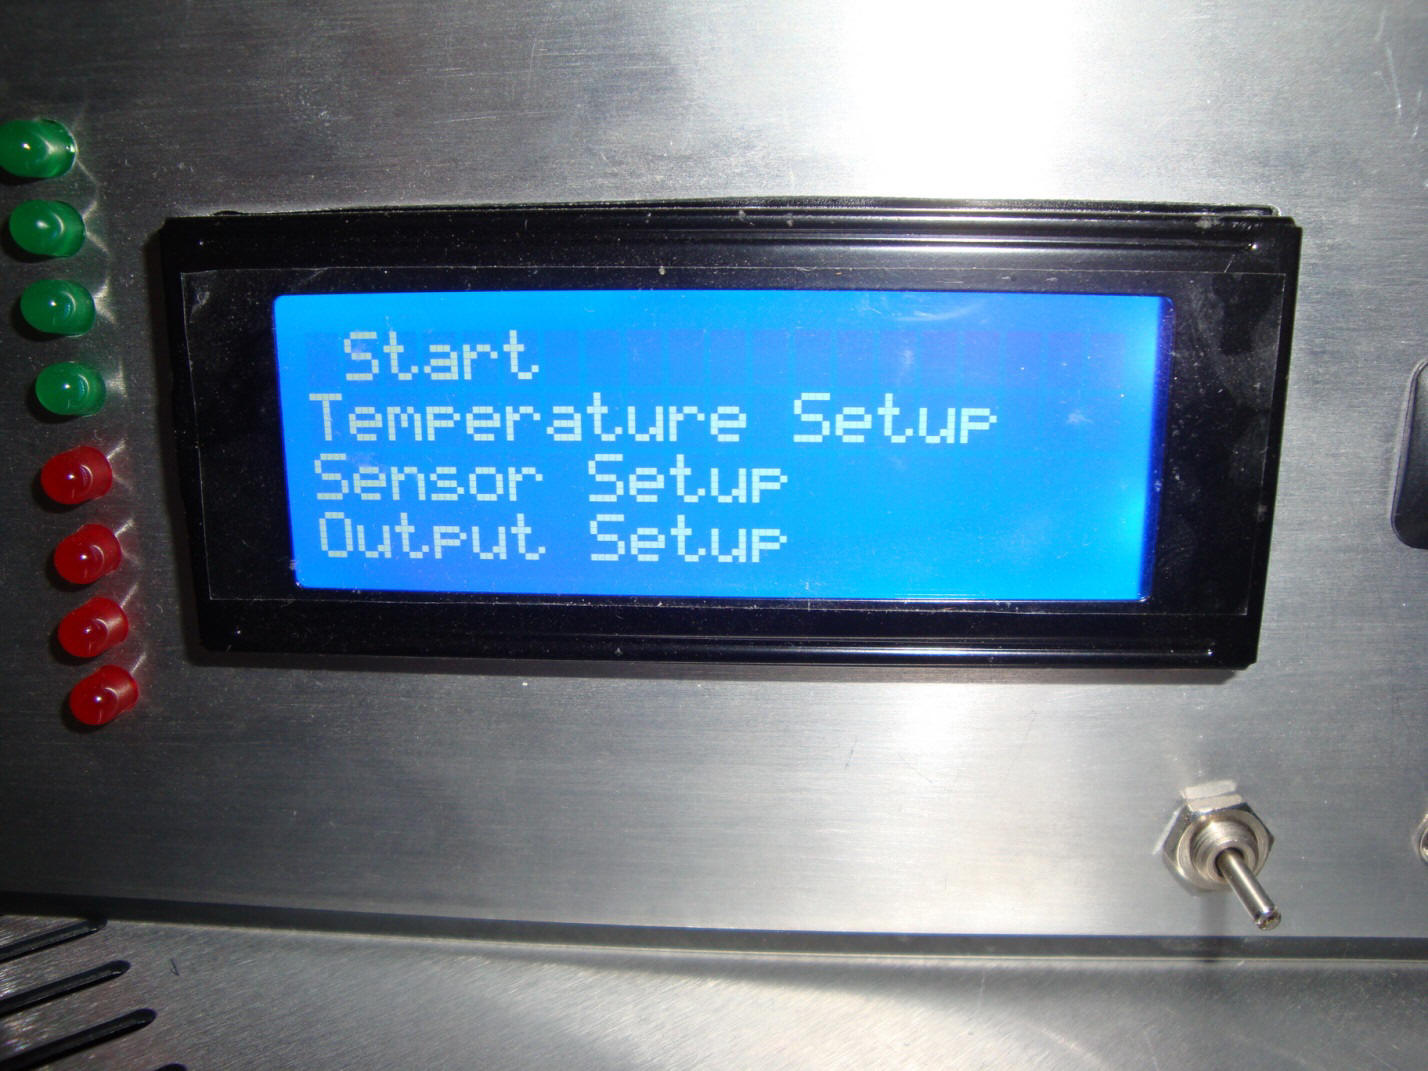
This is the home screen. From here you will navigate to the other screens where you can set your temperature, select the sensor type for the extruder and the bed and select the outputs.
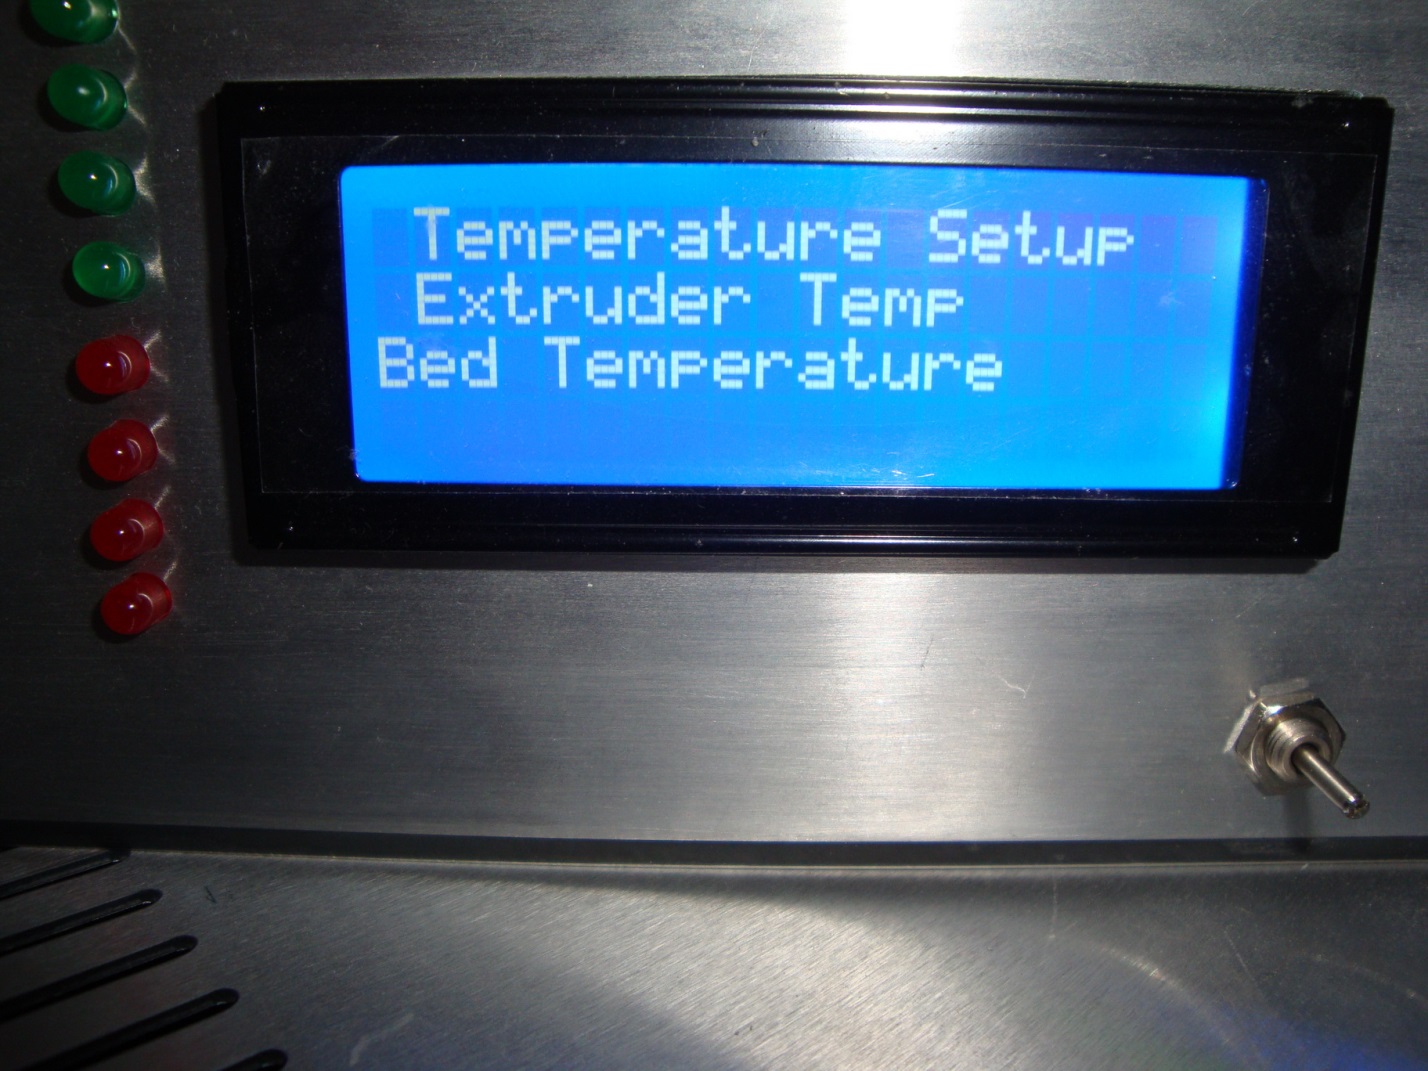
This is the temperature setup screen; from here you will select the component you wish to set. The operational navigation is accomplished by using the push buttons to the right of the display.
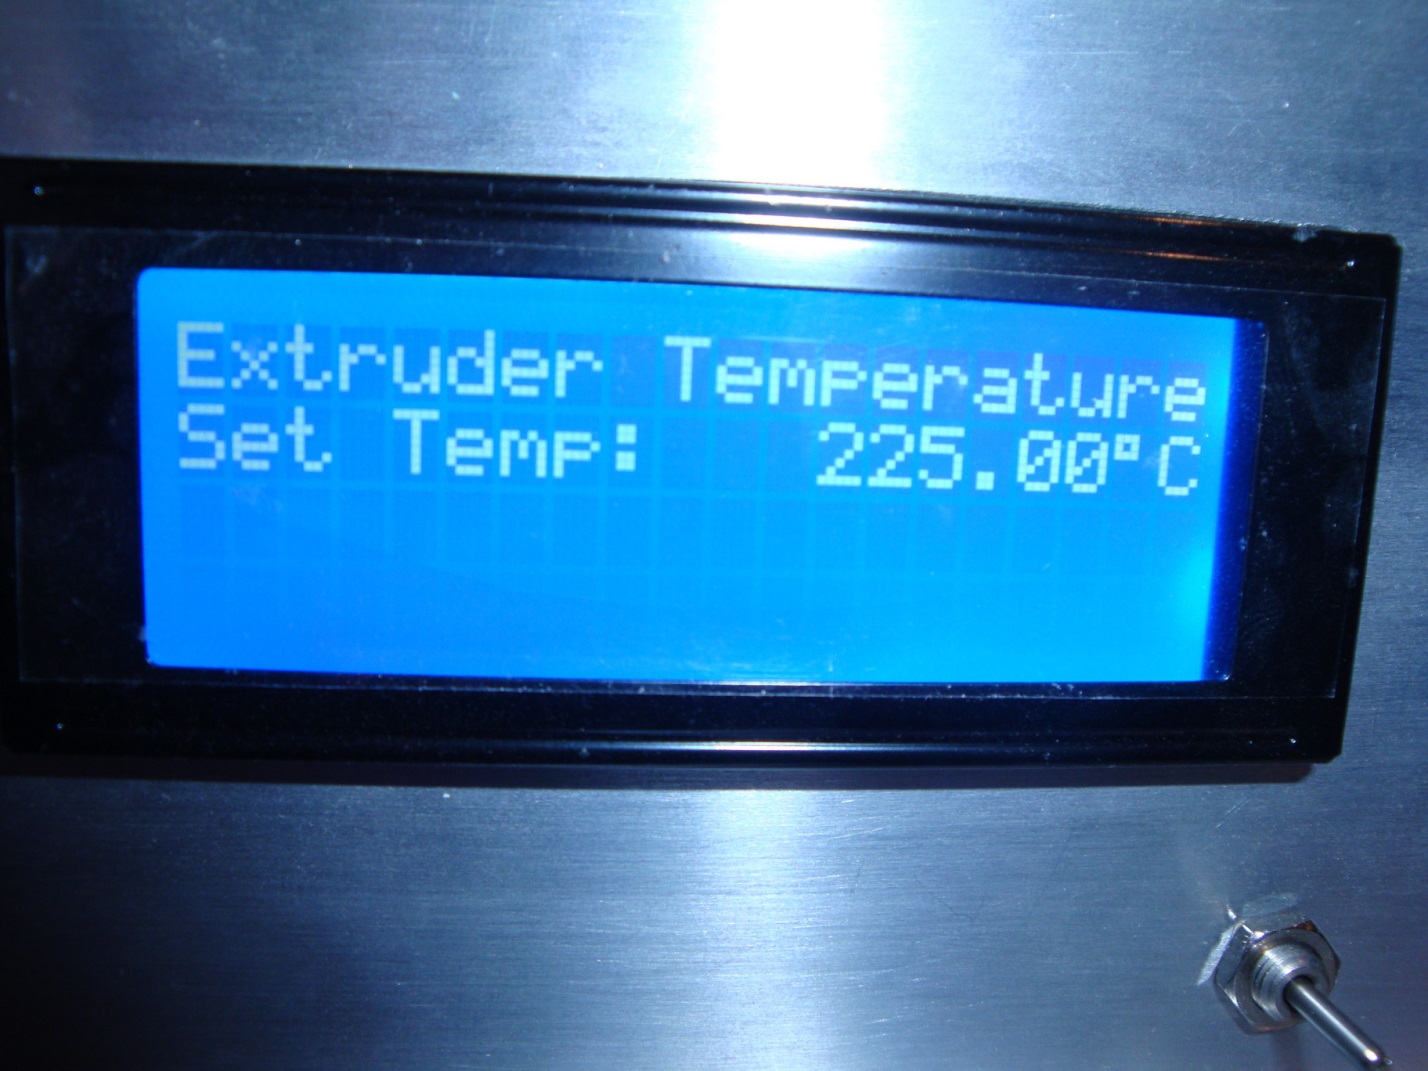
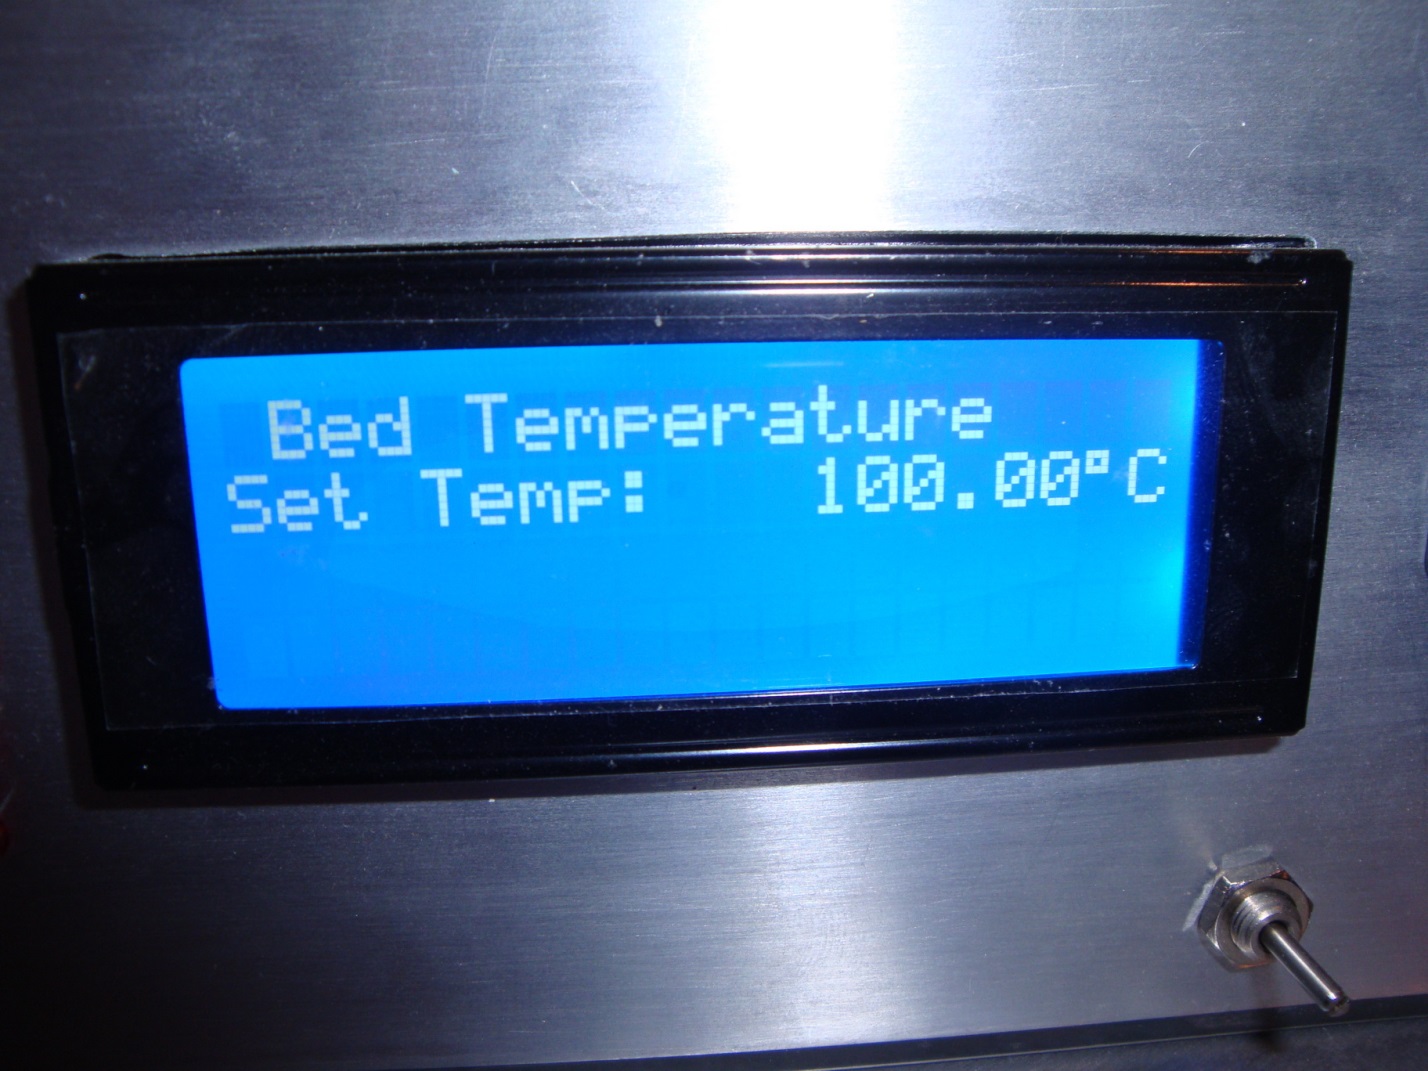
These two screens are the temperature setup screens, the adjustments are accomplished by using the push buttons to the right of the display.
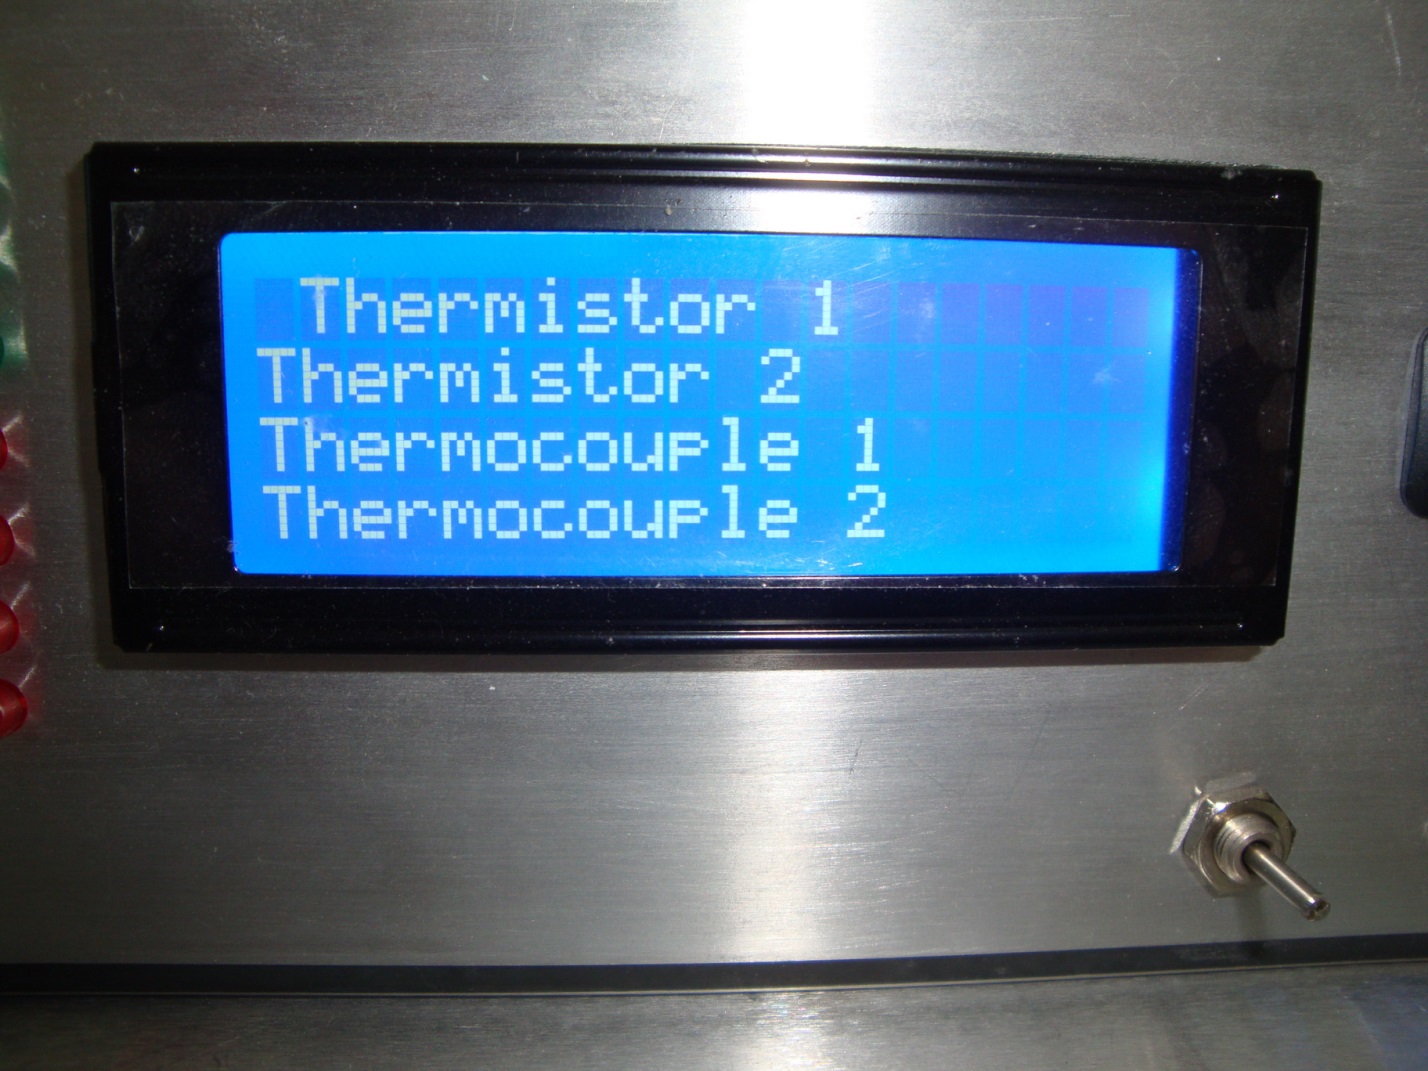
This is the sensor setup screen; here you select which sensor you will use for the extruder and the heated bed. You will be prompted to select the sensor for the extruder first then the heated bed from the remaining three choices.
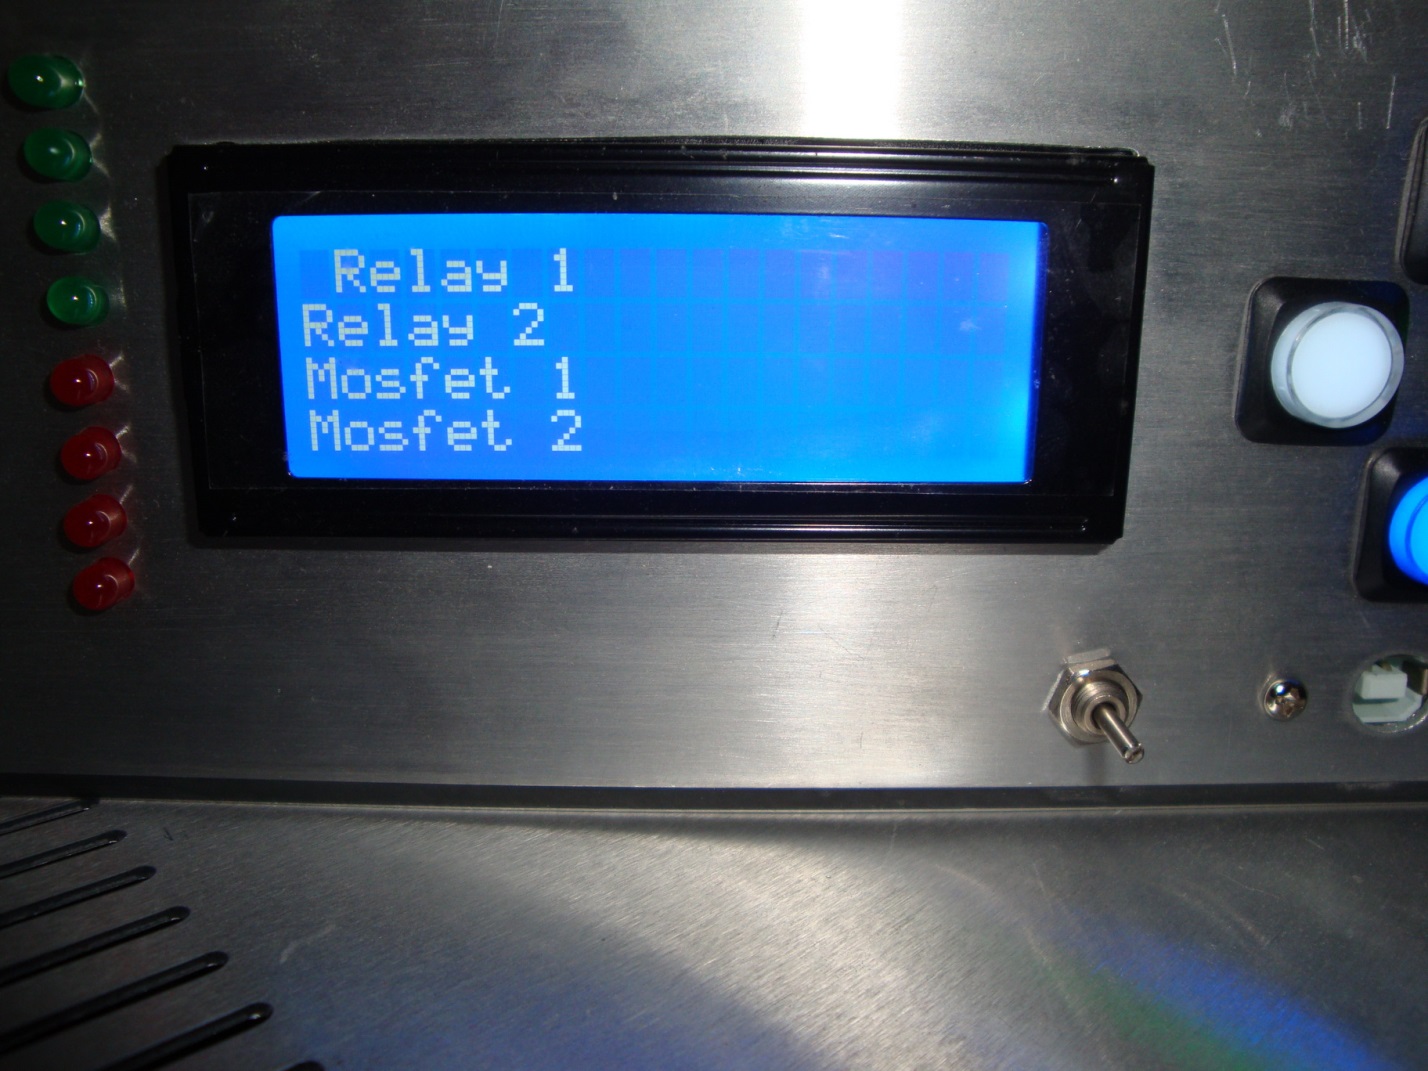
This is the output setup screen; here you select which component will provide the power to the extruder and to the heated bed. You have the choice of the internal MOSFET or you can send the signal to an external relay connected to some other power source.
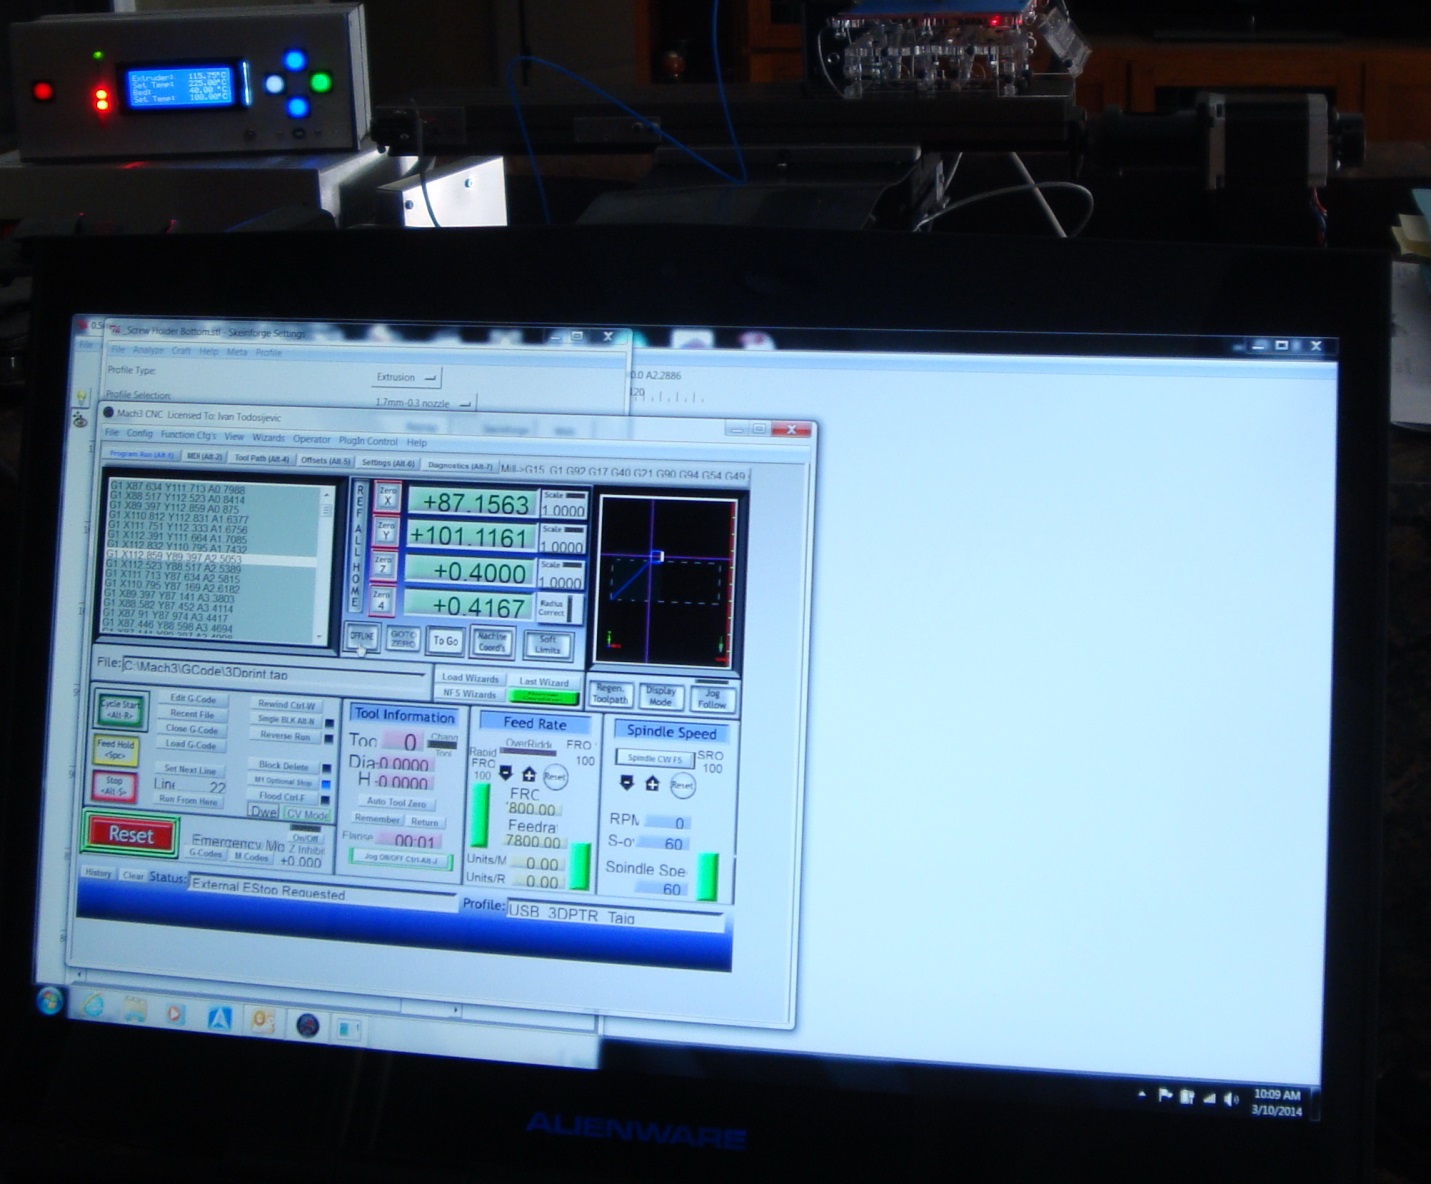
Like I stated above, I have been using Mach3 for my CNC operations and this image shows a print job in progress with Mach3 running the print.
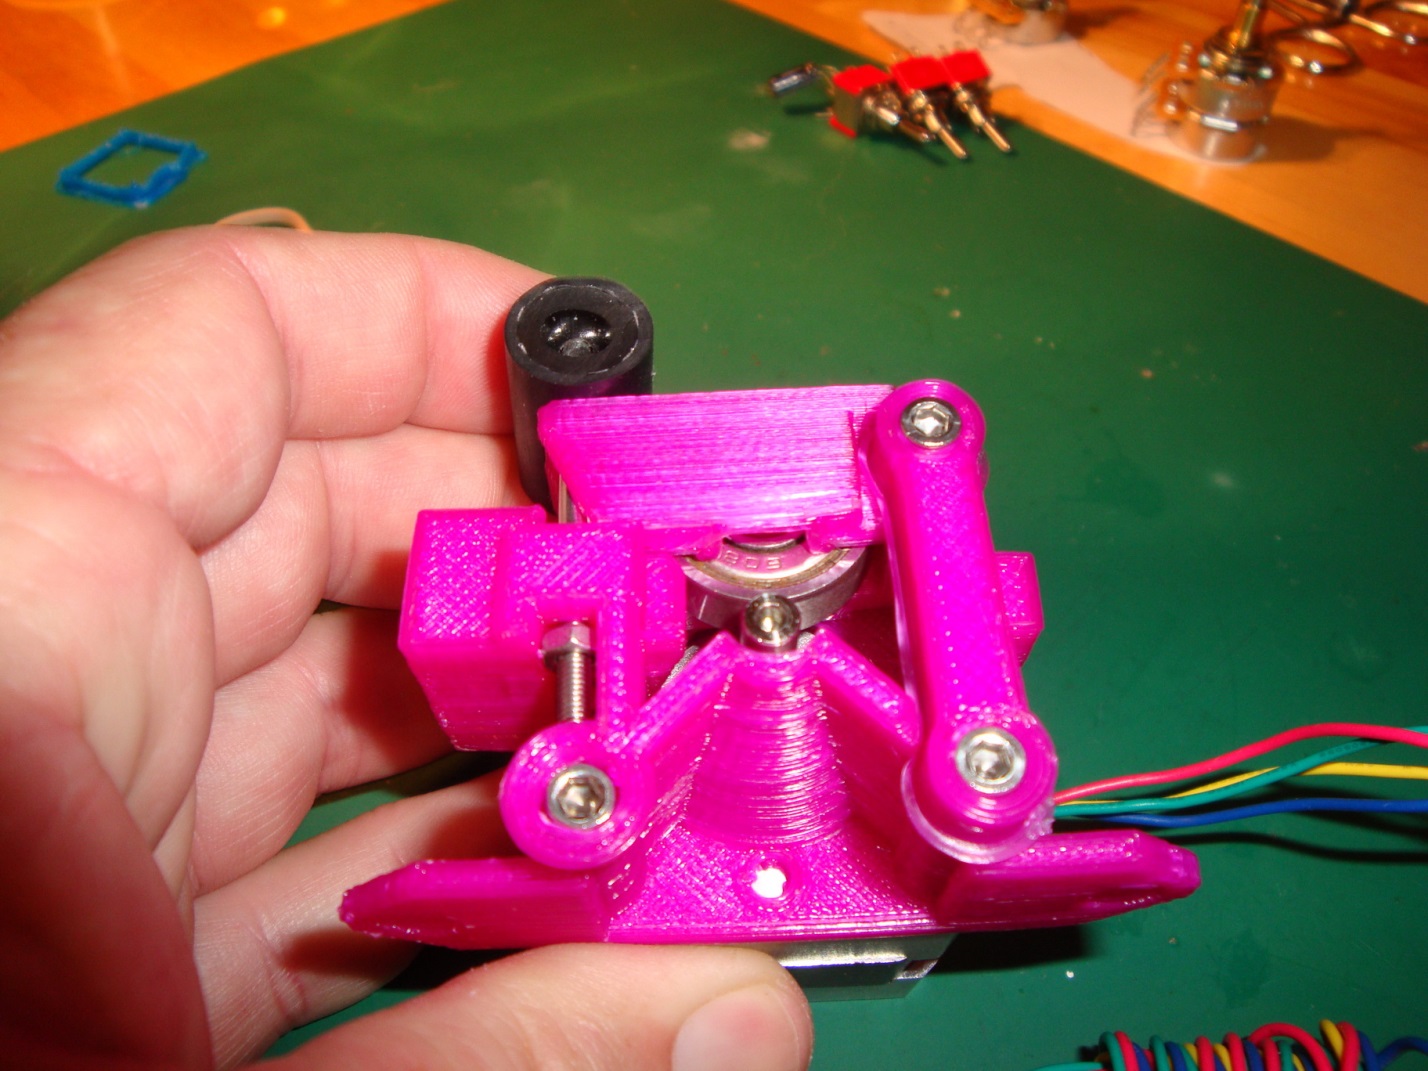
This is an example of the printing from the setup.
I will include instructions on how to setup and use the CNC to 3D Printer Controller. I will also provide directions for setting up the Mach3 plugin used to generate the G-code which turns your CNC mill into a 3D printer. This controller is independent of any CNC software so you can use this with any application you wish.
I want to stress that any assembly will be conducted by me or a local company in the Melbourne Florida area, depending on the component, and I will conduct all of the testing. The Space Coast was hit hard by the cancellation of the shuttle program and I want to keep the work in the local area. The quality of the workmanship in this area is second to none. So nothing is “Made in China” and all instructions are written in English. For more information on how to purchase the conversion kit go to https://www.kickstarter.com/projects/39240967/cnc-to-3d-printer
.